 Save
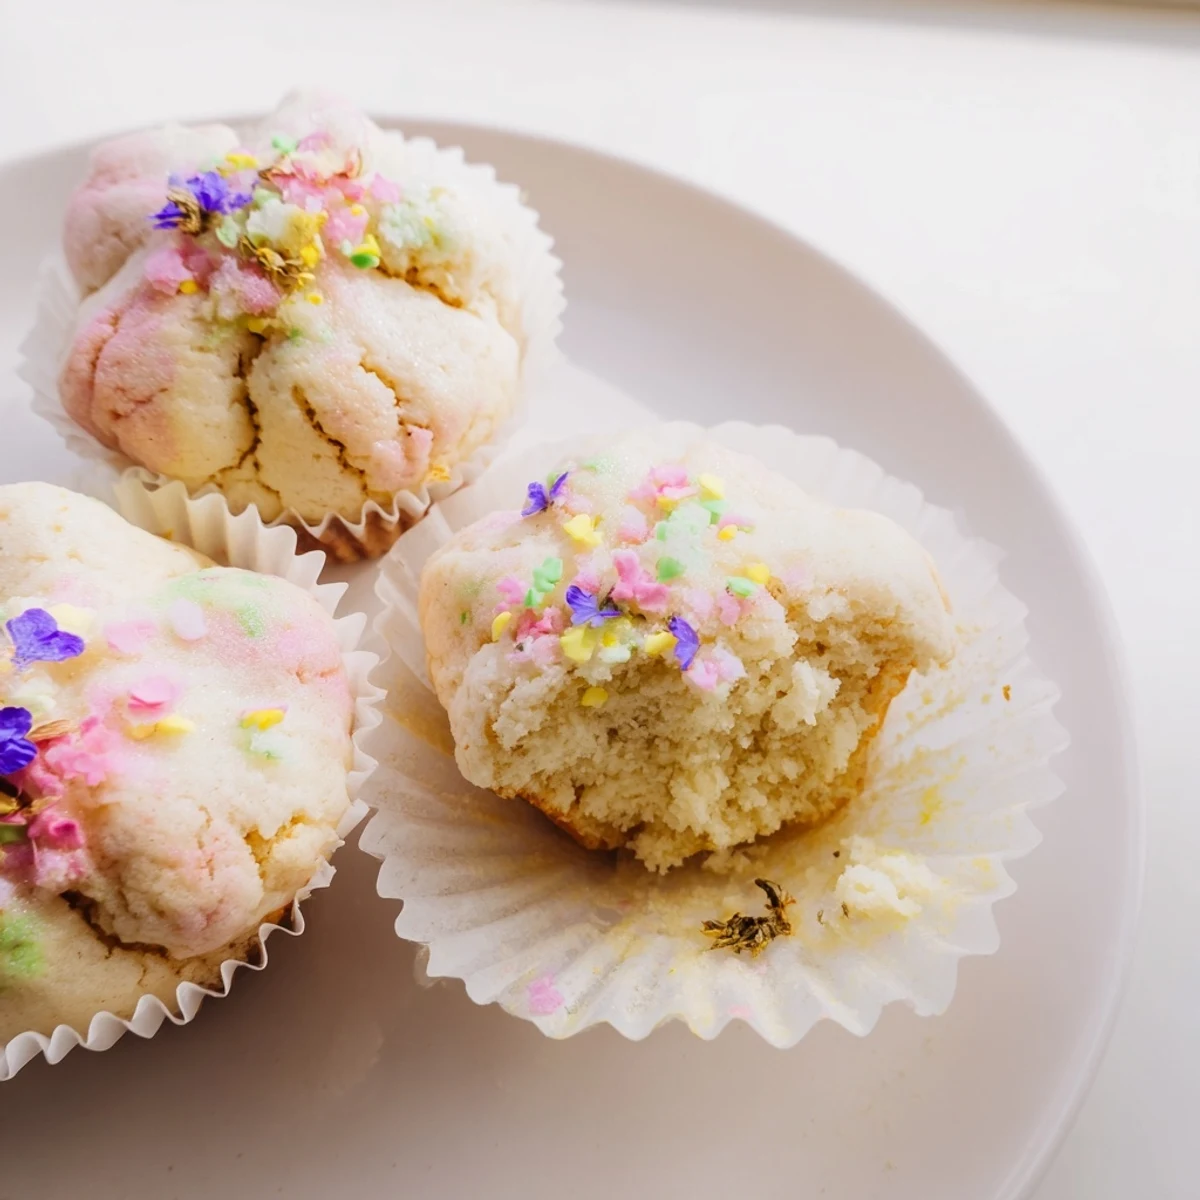
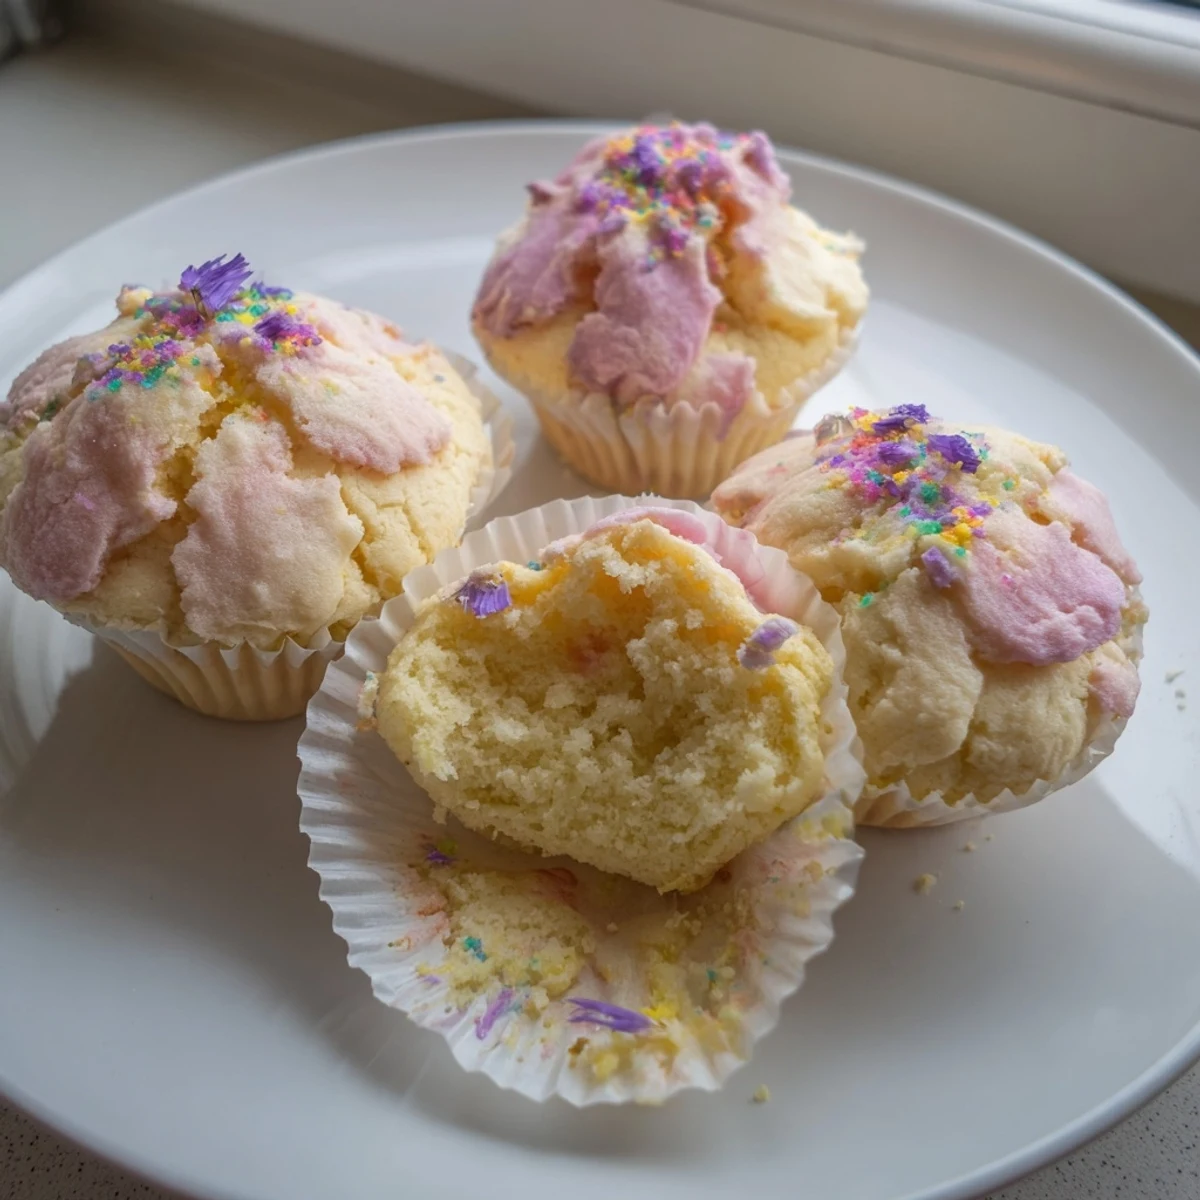
Save Create delicate, fluffy cupcakes with stunning blooming tops using traditional steaming methods that require no oven. These tender treats feature a cracked, flower-like appearance and moist texture that develops through gentle steam heat. The vanilla-infused batter rises beautifully to create their signature blooming appearance, perfect for quick homemade desserts.
The afternoon sun was streaming through my kitchen window when I first tried steaming cupcakes instead of baking them. My oven had died mid-baking the night before, and desperation led me to my grandmother&apos old steamer sitting dusty in the cabinet. Those first cupcakes emerged with the most unexpected cracked tops, like little flowers opening up to the steam.
Last summer, my niece watched wide-eyed as I lifted the steamer lid and those beautiful blooming tops revealed themselves. She insisted they were magic cupcakes, and honestly, she was not wrong. Now she asks for them every time she visits, calling them her special flower cakes.
Ingredients
- 1¾ cups all-purpose flour: This forms the tender foundation of your cupcakes, creating structure without being heavy or dense
- 1 tsp baking powder: Essential for that upward rise, giving your cupcakes their signature blooming appearance
- ½ tsp baking soda: Works with the baking powder to ensure maximum lift and a light, airy crumb
- ⅛ tsp salt: A tiny amount that balances sweetness and enhances all the other flavors
- ¾ cup granulated sugar: Sweetens while helping create that beautiful cracked top as the batter rises
- 2 large eggs: Room temperature eggs incorporate better and provide structure for the steaming process
- ½ cup whole milk: Adds moisture and richness, keeping the cupcakes tender after steaming
- ⅓ cup melted unsalted butter: Butter gives superior flavor, though neutral oil works for an even moister result
- 1 tsp vanilla extract: Pure vanilla makes these taste like a proper bakery treat at home
- Food coloring and sprinkles: Completely optional, but they make those blooming tops even more magical
Instructions
- Set up your steaming station:
- Fill your steamer with water and bring it to a gentle simmer while you prepare the batter. Line your cupcake molds with paper liners, which prevent sticking and make cleanup effortless.
- Whisk the dry ingredients together:
- In a medium bowl, combine the flour, baking powder, baking soda, and salt until they are evenly distributed. This step ensures your cupcakes rise uniformly without any bitter spots of undissolved leavening.
- Beat the eggs and sugar:
- In a separate large bowl, whisk the eggs and sugar until the mixture turns pale and thick. This aeration is crucial for the texture, so take your time and incorporate plenty of air bubbles.
- Add the wet ingredients:
- Pour in the milk, melted butter, and vanilla extract, mixing until everything is smooth and combined. The mixture should look glossy and slightly thickened from the egg mixture.
- Fold everything together:
- Gently incorporate the dry ingredients into the wet mixture using a spatula, folding until just combined. Stop as soon as you no longer see dry flour streaks, as overmixing will make your cupcakes tough instead of tender.
- Add color if desired:
- For that blooming effect, divide the batter and fold in food coloring, then layer different colors in your molds. The steaming process creates beautiful marbled patterns as the colors rise and crack open on top.
- Fill the cupcake molds:
- Spoon the batter into prepared liners, filling each about three-quarters full. The cupcakes need this headspace to rise properly and create those signature blooming tops.
- Steam with care:
- Place molds in your steamer with enough space between them for steam to circulate freely. Cover the lid with a clean cloth to catch condensation, which prevents water from dripping onto your cupcakes and ruining their texture.
- Steam until set:
- Cook over medium heat for 12 to 15 minutes, checking for doneness when the tops have cracked open beautifully. A toothpick inserted into the center should emerge clean, and the cupcakes should spring back when gently touched.
- Cool and decorate:
- Let the cupcakes rest in the molds for a few minutes before transferring them to a wire rack. Once they are cool enough to handle, add sprinkles, edible flowers, or chocolate chips to make them as beautiful as they are delicious.
 Save
Save My friend was skeptical when I told her about steamed cupcakes, but one bite changed her mind completely. Now she keeps a steamer specifically for making these on rainy afternoons when baking feels like too much effort but dessert is still necessary.
Making Them Your Own
Citrus zest brightens the flavor profile beautifully, while extracts like almond or coconut transform these into something entirely different. I have found that a teaspoon of lemon zest added to the batter makes these taste like sunshine.
The Blooming Effect
The signature crack or bloom happens because steam cooks the cupcakes from the outside in, creating pressure that forces the top to open as the interior sets. It is the steaming equivalent of that beautiful crack you get on a brownie, but more dramatic.
Storage and Serving
These keep surprisingly well in an airtight container for up to two days, though they are best served warm the same day. The texture remains remarkably moist due to the steaming process, which is more forgiving than baking.
- Refrigerate them if you plan to keep them longer than two days
- A quick 10-second steam brings them back to freshly-made perfection
- These freeze well for up to a month if wrapped tightly
 Save
Save There is something deeply comforting about making these, knowing that a simple pot of water can transform into something so delightful. Happy steaming, my friend.
Recipe FAQs
- → Why do the cupcakes bloom while steaming?
-
The blooming effect occurs naturally as steam heat causes the batter to rise rapidly, creating distinctive cracks on the surface that resemble blooming flowers. This happens due to the even, gentle heat distribution from steaming.
- → Can I make these without a steamer?
-
Yes! You can create a makeshift steamer by placing a heat-proof plate on small inverted bowls inside a large pot with simmering water. Cover with a tight lid and steam as directed.
- → How do I prevent condensation from dripping onto the cupcakes?
-
Wrap a clean kitchen cloth around the steamer lid before covering. This absorbs excess moisture and prevents water droplets from falling onto the rising cupcakes, which could cause soggy spots.
- → Can I use oil instead of butter?
-
Absolutely! Neutral vegetable oil works perfectly and may result in an even moister cupcake. Use the same quantity (⅓ cup) and ensure it's at room temperature before mixing into the batter.
- → How should I store these steamed cupcakes?
-
Store in an airtight container at room temperature for up to 2 days. For longer freshness, refrigerate for up to 5 days. Bring to room temperature before serving for the best texture.
- → What flavors work well for the blooming effect?
-
Vanilla is classic, but you can try citrus zest, almond extract, or coconut extract. Natural colorings like matcha, beet powder, or turmeric create beautiful blooming patterns while adding subtle flavor.