 Save
Save This indulgent fudge combines smooth white chocolate with vibrant peppermint flavor, creating a stunning swirled effect that looks as beautiful as it tastes. The preparation comes together quickly on the stovetop, requiring just 15 minutes of active cooking time before chilling.
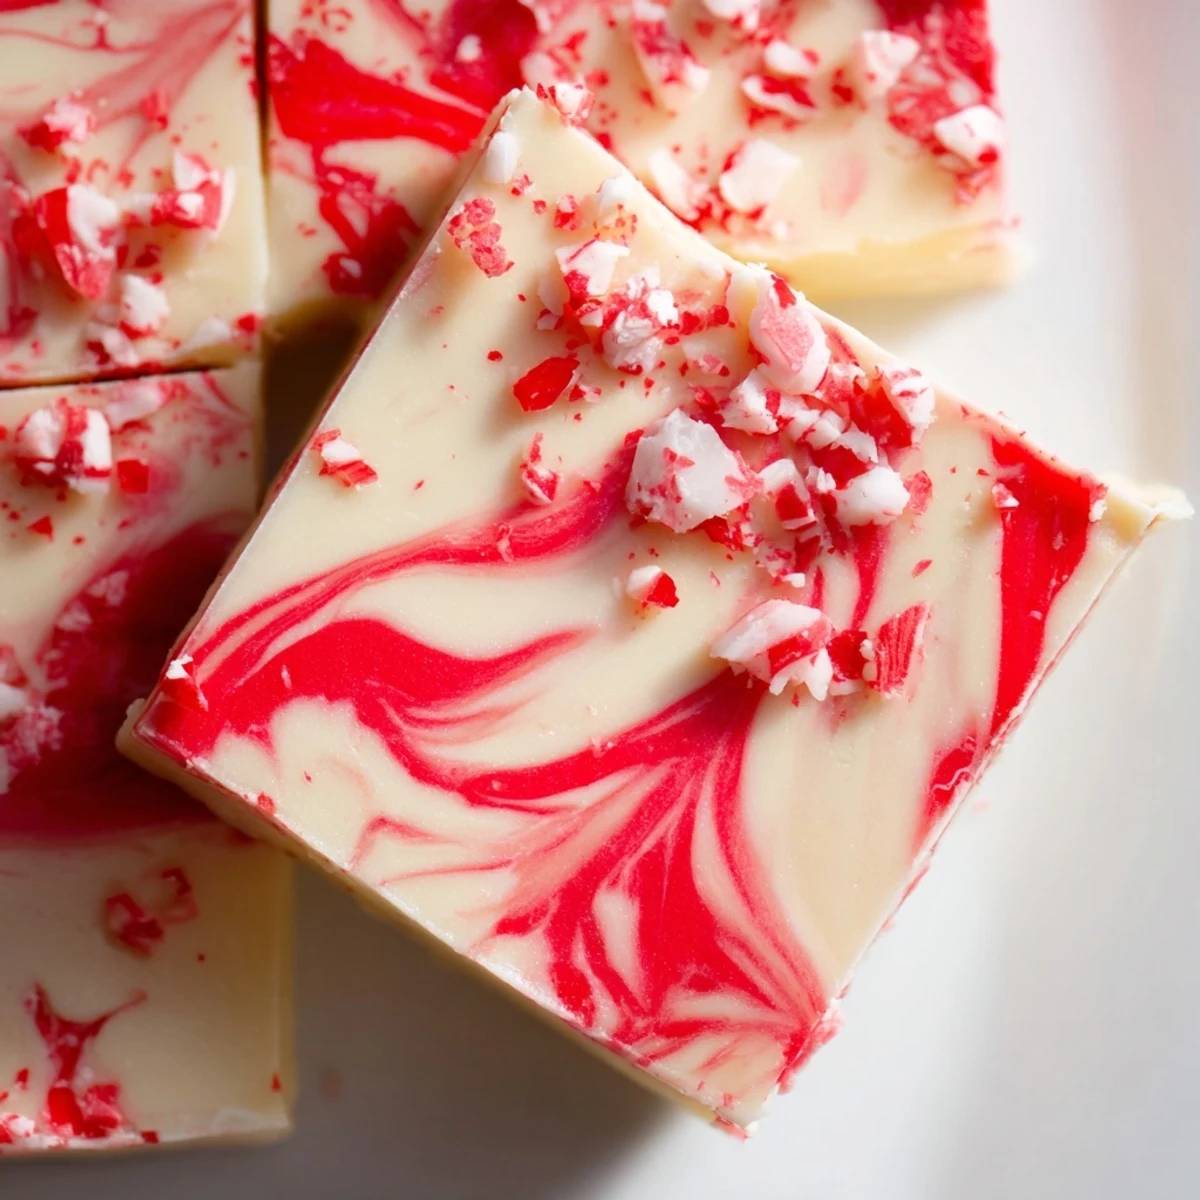
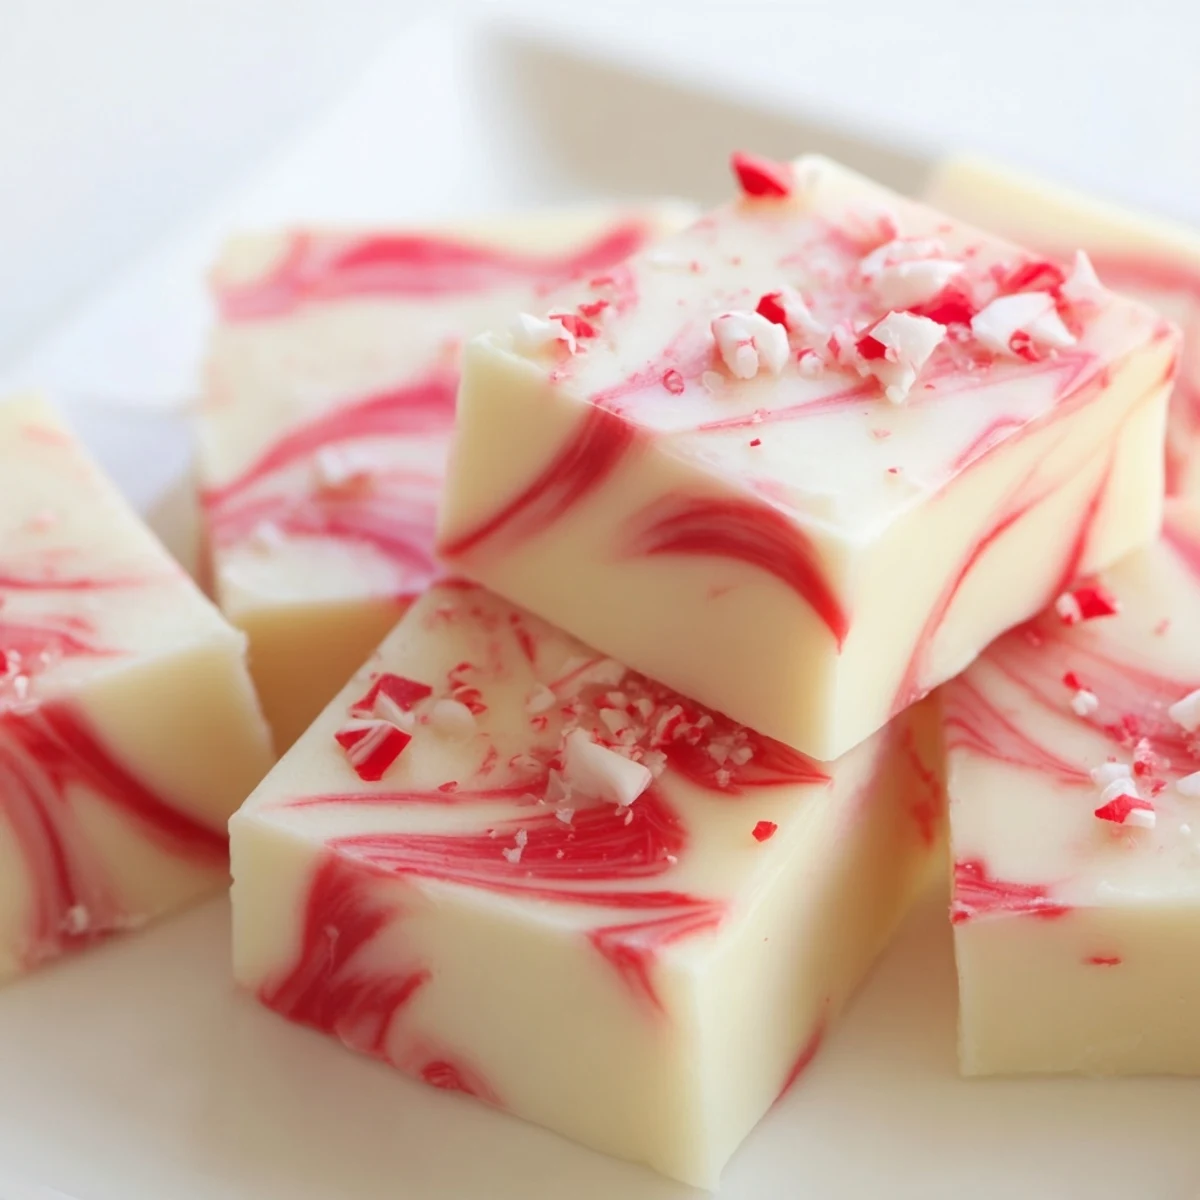
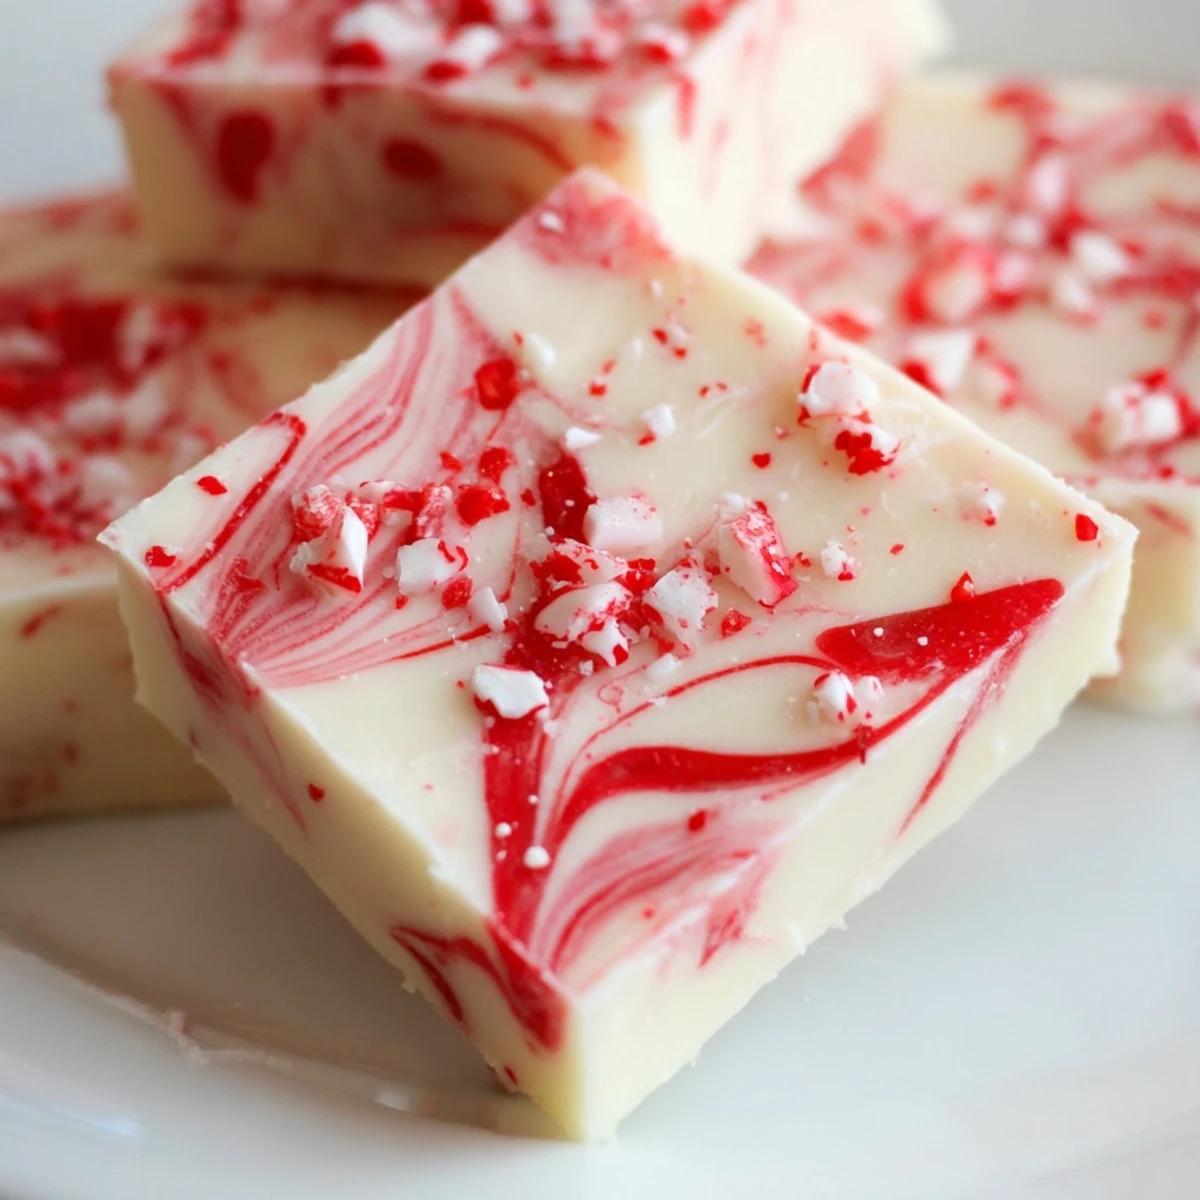
What makes this treat special is the marbled presentation—drops of red-tinted fudge swirled into the creamy white base create eye-catching patterns perfect for holiday gift-giving or party platters. The crushed candy cane topping adds delightful crunch and extra minty freshness.
With only five core ingredients and minimal equipment needed, this accessible confection delivers impressive results. The fudge sets firmly in the refrigerator, yielding clean squares that maintain their shape at room temperature during serving.
The first snowfall had just started when my youngest bounded into the kitchen, declaring we needed something festive for the neighborhood caroling that evening. I raided the baking cupboard and found white chocolate chips from last year's holiday sales, plus a stray box of candy canes tucked behind the flour.
My daughter took charge of the swirling, her breath catching every time she pulled the knife through the red and white ribbons. We ended up with more fingerprints in the fudge than planned, but nobody seemed to mind.
Ingredients
- White chocolate chips: High quality chips melt more smoothly and prevent graininess in the final texture
- Sweetened condensed milk: This creates the creamy fudge base without requiring a candy thermometer
- Unsalted butter: Adds richness and helps the fudge set properly
- Peppermint extract: Use clear extract to maintain the white color in your base layer
- Red gel food coloring: Gel coloring works better than liquid for vibrant color without thinning the fudge
- Crushed peppermint candies: Crush these just before using so they stay fresh and crunchy
Instructions
- Prepare your pan:
- Line an 8x8-inch baking pan with parchment paper, letting the edges overhang for easy removal later
- Melt the base:
- Combine white chocolate chips, sweetened condensed milk, and butter in a medium saucepan over low heat, stirring constantly until completely smooth
- Add peppermint:
- Remove from heat and stir in the peppermint extract quickly before the mixture begins to cool
- Layer the base:
- Pour about three-quarters of the white mixture into your prepared pan and spread it evenly with a spatula
- Create the swirl:
- Add red gel coloring to the remaining fudge and drop spoonfuls over the white layer, then use a knife to marble the two colors together
- Add the crunch:
- Sprinkle crushed peppermint candies over the top and press gently so they stick to the surface
- Set the fudge:
- Refrigerate for at least 2 hours until completely firm before cutting into squares
 Save
Save That evening, our fudge disappeared before the carolers even made it to the third house. Now it is the first request whenever December rolls around.
Getting The Perfect Marble
The swirling step feels intimidating but simply drag your knife through both layers without overthinking the pattern. Less is more here, and a few quick figure eights create the most beautiful ribbons.
Timing Your Layers
If the fudge becomes too firm while you work with the colored portion, pop it back on the stove for ten seconds over very low heat. You want both mixtures at similar temperatures so they swirl together rather than layering on top of each other.
Storage And Sharing
This fudge keeps beautifully for two weeks in the refrigerator and actually improves in flavor after a day or two. Layer pieces between wax paper in an airtight container.
- Package small batches in holiday tins for effortless gifting
- The texture firms up even more overnight if you can wait that long
- Bring to room temperature 15 minutes before serving for the creamiest bite
 Save
Save There is something joyful about cutting into that first slice and seeing the red ribbons against the creamy white. Happy holidays to your kitchen.
Recipe FAQs
- → How long does the fudge need to chill?
-
Refrigerate for at least 2 hours until completely firm. For best results, let it chill overnight before cutting—the squares will hold their shape better and slice more cleanly.
- → Can I make this without candy canes?
-
Absolutely. Simply omit the crushed candy topping, or replace with sprinkles, chopped nuts, or sea salt. The swirl effect works perfectly without any garnish at all.
- → Why did my fudge turn out grainy?
-
Grainy texture usually means the chocolate scorched or the condensed milk separated. Keep the heat on low and stir constantly. If needed, a brief whirl with an immersion blender can restore smoothness.
- → How should I store this fudge?
-
Keep in an airtight container in the refrigerator for up to 2 weeks. Layer pieces between wax paper to prevent sticking. It can also be frozen for up to 3 months—thaw overnight in the fridge.
- → Can I use peppermint oil instead of extract?
-
Yes, but use caution—oils are much more concentrated. Start with just 1/8 teaspoon and taste before adding more. Too much will make the fudge taste medicinal rather than refreshing.
- → What's the best way to get clean swirls?
-
Work quickly while the fudge is still warm. Drop the red mixture in small circles rather than lines, then use a skewer to make figure-eight motions through both layers. Avoid over-swirling, which will muddy the colors.