 Save
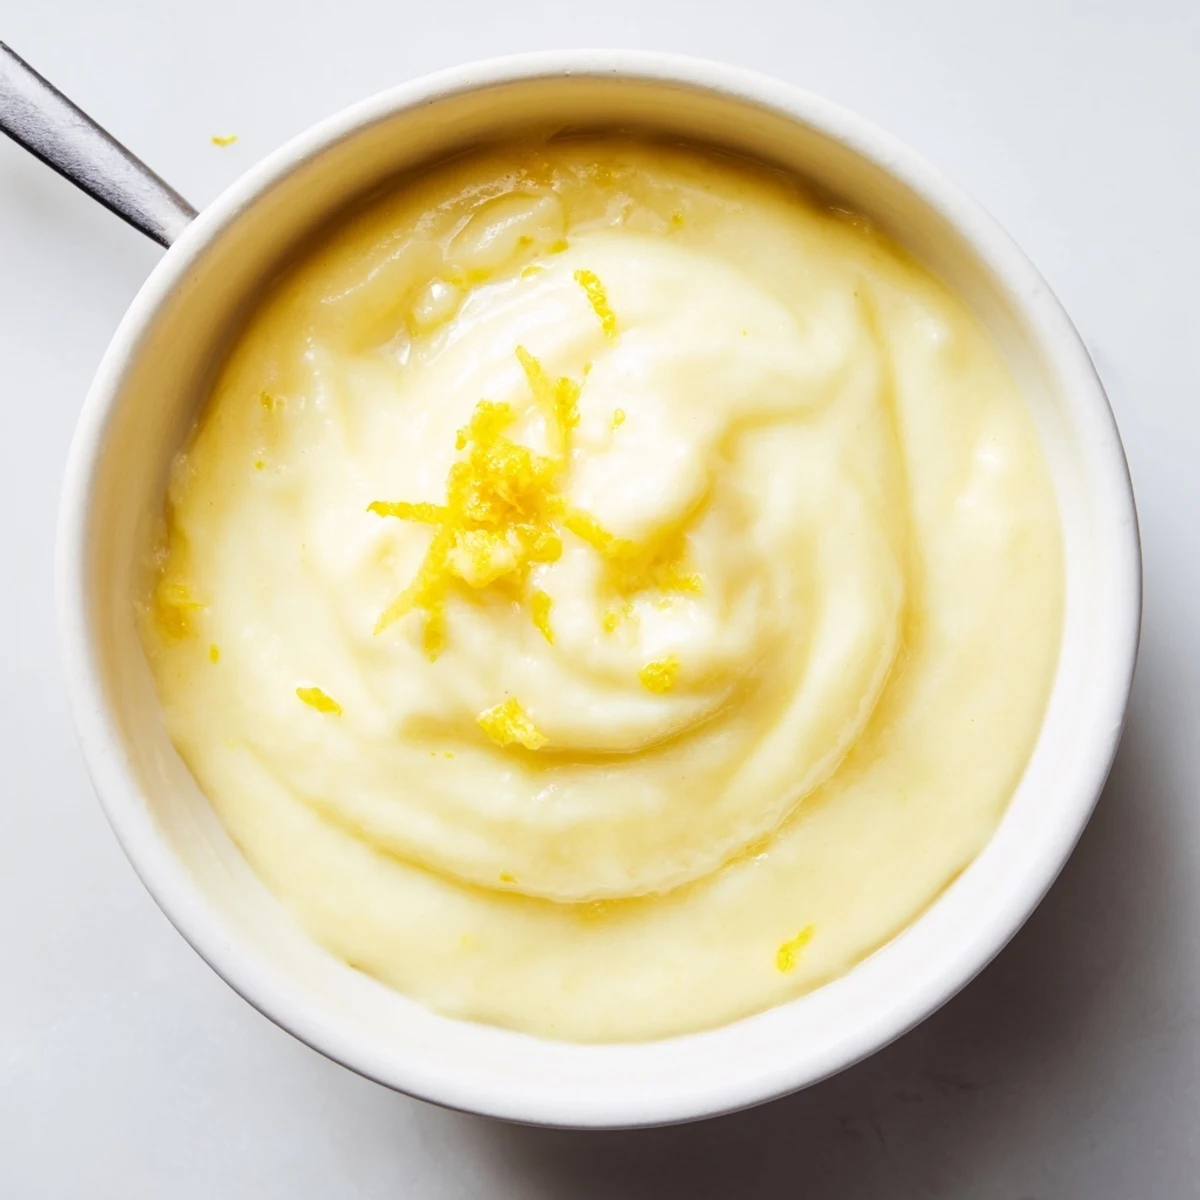
Save Whisk eggs and sugar, add lemon zest and juice, then cook gently over simmering water (double boiler), whisking constantly until the mixture thickly coats a spoon, about 8–10 minutes. Remove from heat and whisk in cold butter for a glossy finish, strain for extra-smooth texture, cool and jar. Store chilled up to 2 weeks; use as a filling, spread or swirled into yogurt. For dairy-free, use plant-based butter and strain twice for silkier results.
It’s funny how some of the brightest flavors sneak up on you. I still remember the sharp, sunny scent of lemons filling my kitchen the first time I tried making lemon curd. There was a gentle hiss from the simmering water and the eager bubbling anticipation for the curd to finally thicken. That initial batch vanished quickly—spread across toast, spooned into tart shells, swirled into yogurt before I even realized it was gone.
One breezy Saturday, a friend dropped by bringing fresh scones on a whim—my impromptu batch of lemon curd ended up stealing the show. The way we laughed about licking sticky spoons and the curd’s sunshine color outshone the gray day still makes me smile. I realized then how these simple kitchen moments turn into stories you want to revisit.
Ingredients
- 4 large eggs: Room temperature eggs blend smoothly with the sugar, and I’ve learned that gentle, patient whisking is key for the creamiest texture.
- 4 tablespoons unsalted butter, cubed: Adding it off the heat makes the curd silky and rich—don’t rush this step, even if you’re eager to taste.
- 3 large lemons (zest and juice; about 1 tablespoon zest, 120 ml juice): Using both the zest and juice gives an extra layer of citrus perfume—roll the lemons firmly before zesting for more juice.
- 200 g (1 cup) granulated sugar: Balances the tanginess, and if you want a curd that really gleams, sift the sugar to avoid lumps.
Instructions
- Get Everything Ready:
- Gather your heatproof bowl, saucepan, whisk, and sieve before starting—this recipe moves quickly once the eggs meet the heat.
- Whisk Eggs and Sugar:
- Combine eggs and sugar enthusiastically until the mix lightens in both color and texture.
- Add Lemon Zest & Juice:
- Stir in the zest and juice; pause to enjoy the aroma for a moment.
- Gently Cook Over Simmering Water:
- Set the bowl over gently simmering water, making sure the bowl’s bottom never touches the water, and whisk constantly as the mixture slowly thickens—this moment is all about patience and rhythm.
- Add Butter for Silkiness:
- Remove from the heat and whisk in the butter cubes, watching them disappear into a satiny finish.
- Strain for Smoothness:
- Push the curd through a fine-mesh sieve into a clean bowl, catching any zest or bits of cooked egg to achieve a flawless spread.
- Cool and Store:
- Let the curd cool, then use a silicone spatula to transfer it into sterilized jars—don’t forget to taste a little warm while you wait.
 Save
Save Years later, a friend asked me to bring a dessert to her garden party, and a jar of homemade lemon curd turned out to be the most asked-about treat of the day. It struck me how a zesty kitchen experiment can become a tiny highlight in someone else’s memory too.
How to Enjoy Lemon Curd
I’ve swirled dollops of lemon curd into yogurt for a quick breakfast, spooned it onto crispy toast, and layered it into cakes when I wanted to impress without stress. It’s also unbeatable with a warm scone and a mug of Earl Grey—there’s something playful and grown-up about it at the same time.
Troubleshooting & Little Fixes
One time my curd seemed too loose, and a few extra minutes of gentle whisking saved the day. If you ever find tiny bits of scrambled egg, straining twice works wonders—don’t be shy about tasting along the way to check the tang.
Small Ways to Make It Yours
You can swap in plant-based butter if you’re dairy-free, or try limes or blood oranges for a twist that’s equally punchy. Lemon curd is even better after a night in the fridge when the flavors mellow and it thickens perfectly.
- If gifting, tie a simple ribbon around the jar for a sweet presentation.
- For tarter curd, cut the sugar slightly and taste as you go.
- Don’t forget to zest before you juice—ask me how I learned that one.
 Save
Save May your next lemon curd adventure be just as tangy and joyful as mine always turns out—don’t forget to share a spoonful or two with someone curious. Little kitchen triumphs like this make every batch worth it.
Recipe FAQs
- → How do I know when the curd is done?
-
It’s ready when it thickly coats the back of a spoon and you can draw a line through the mixture with your finger. That usually takes about 8–10 minutes over a gentle simmer.
- → Why use a double boiler?
-
Gentle, indirect heat prevents the eggs from scrambling. A double boiler gives controlled warmth so the mixture thickens smoothly without curdling.
- → Can I make a dairy-free version?
-
Yes—substitute plant-based butter. Chill and strain as usual; the texture will be slightly different but still glossy and spreadable.
- → Is straining necessary?
-
Straining removes any cooked egg bits and excess zest, yielding a silky, smooth curd. For the silkiest result, strain twice.
- → How should I store it and how long does it keep?
-
Transfer to sterilized jars, cool, and refrigerate. Properly stored, it keeps for up to 2 weeks in the fridge.
- → Can I use bottled lemon juice instead of fresh?
-
Fresh lemon juice and zest give brighter flavor and better texture. Bottled juice can be used in a pinch but expect a less vibrant citrus character.