 Save
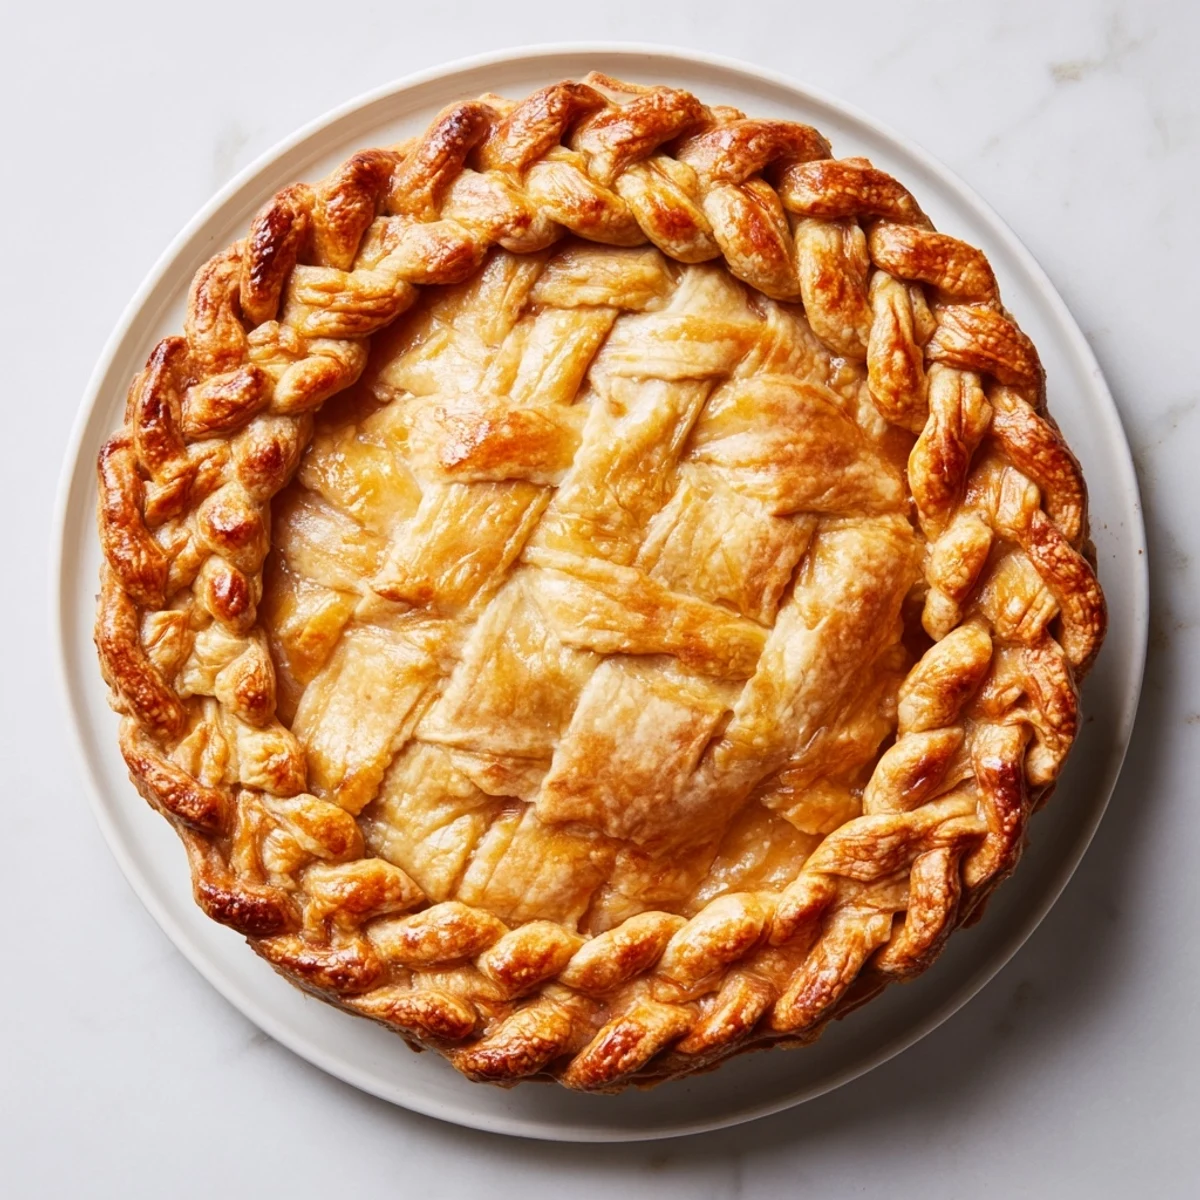
Save Master the art of creating an exquisite fishtail braid pie crust that transforms ordinary pies into stunning centerpieces. This decorative technique involves weaving thin dough strips into an intricate braid pattern that sits atop the pie edge, delivering both visual appeal and a delightful texture contrast.
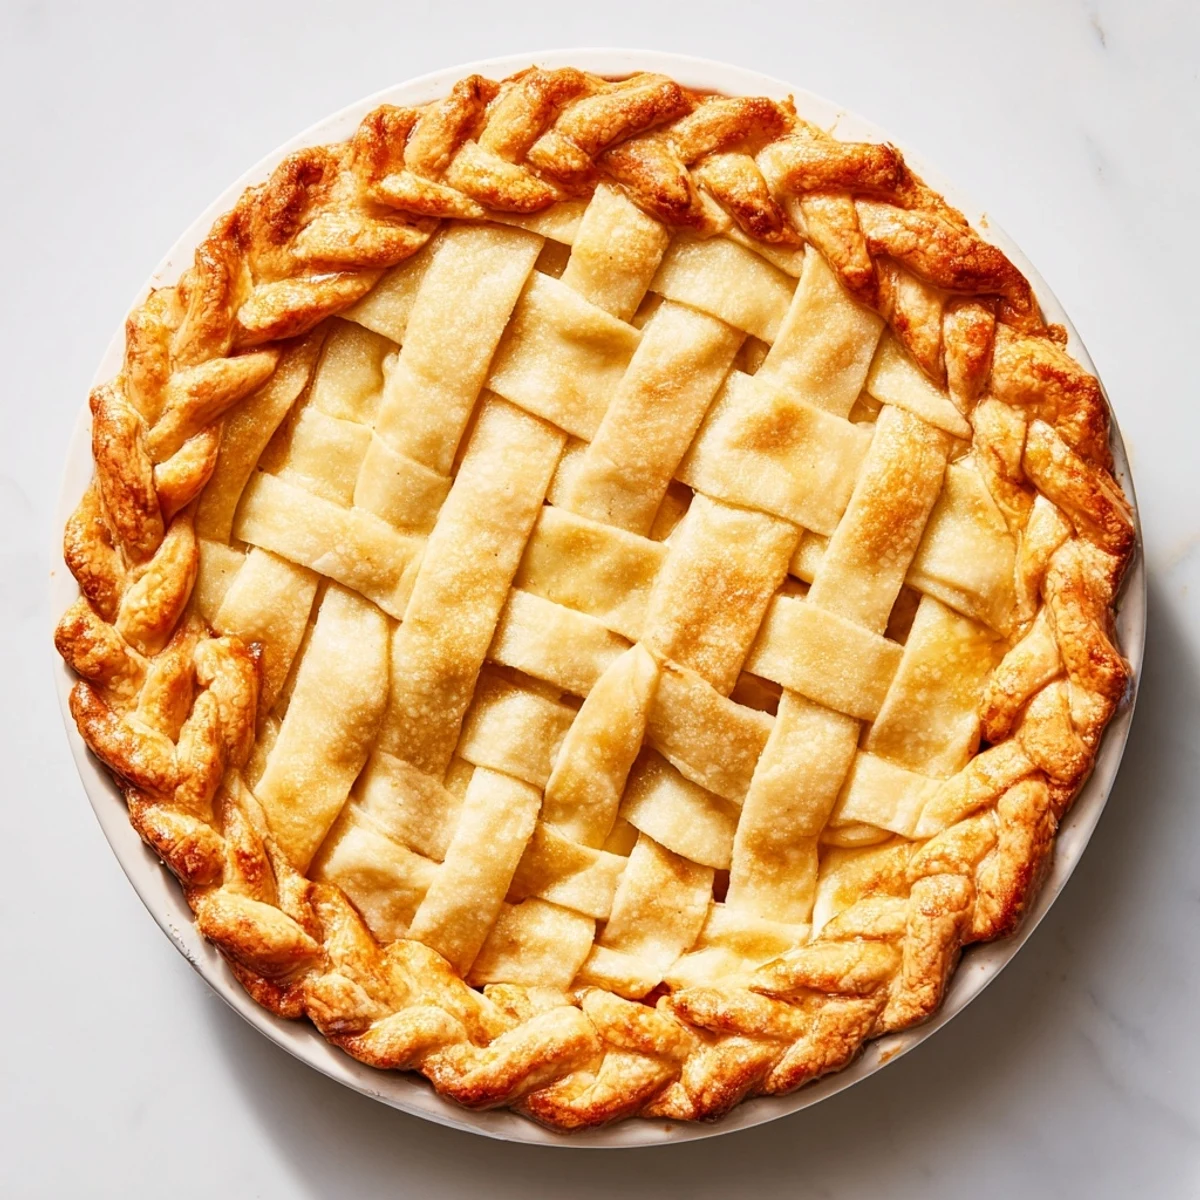
The process begins with a classic butter-based dough, rolled and cut into even strips before being braided using the fishtail technique. Unlike standard braiding, the fishtail method creates a flatter, wider weave that showcases the layers of flaky pastry while providing a substantial golden crown after baking.
Ideal for both sweet fruit pies and savory quiches, this versatile finishing touch works equally well on pre-baked shells and filled pies. The key lies in keeping the dough thoroughly chilled throughout preparation and working quickly to maintain clean edges and distinct braid definition.
The first time I attempted a decorative pie crust, I spent forty minutes wrestling with dough strips that kept sticking to my countertop and each other. My kitchen was chaos, but when that pie emerged from the oven with an intricate braided border, my sister actually gasped. Now I cannot make a plain crimped edge anymore.
Last Thanksgiving, I made three pecan pies just to practice different crust styles. The fishtail braid version disappeared first, with my cousin's daughter whispering that it looked like something from a fairy tale. Sometimes the prettiest food tastes the best simply because we eat with our eyes first.
Ingredients
- All purpose flour: The structure builder, measure carefully and consider chilling your flour in hot weather
- Cold butter: Those visible butter pockets create flaky layers so work quickly to keep it cold
- Ice water: Add gradually, you might need less than you think, the dough should just hold together
- Egg wash: That glossy golden finish that makes your pie look professionally done
Instructions
- Make the pie dough:
- Whisk flour, salt and sugar in a large bowl then cut in cold butter until coarse crumbs form with some pea sized pieces remaining
- Drizzle in ice water gradually, tossing gently with a fork until dough just comes together, then divide into two disks and wrap tightly
- Chill completely:
- Refrigerate dough for at least one hour or until firm, this step is non negotiable for workable strips that will not stretch into oblivion
- Roll and cut strips:
- On a floured surface roll one disk into a rectangle about 1/8 inch thick and cut at least six even strips, 12 inches long and 1/2 inch wide
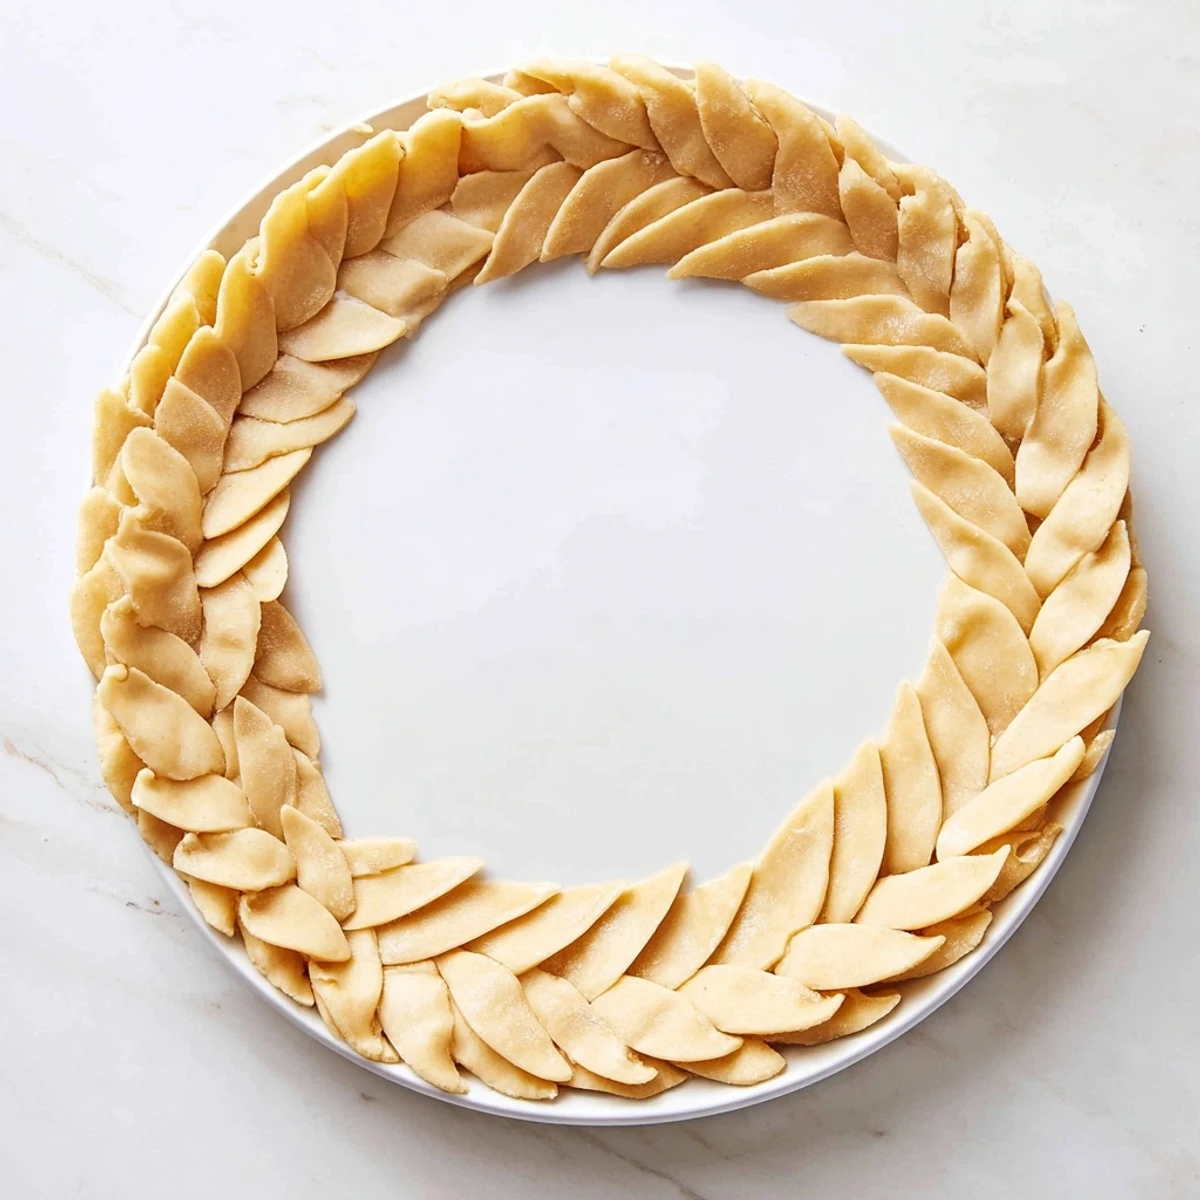
- Create the fishtail braid:
- Lay three strips together and start a regular braid for one set, then switch to fishtail technique by crossing outer strips to the center repeatedly
- Assemble your pie:
- Brush the pie edge lightly with water, then carefully lift and position the braid around the rim, pressing gently to secure
- Add the finishing touch:
- Brush the braid with beaten egg thinned with a splash of milk for that deep golden shine
 Save
Save This crust became my signature after I brought it to a new neighbor's housewarming. She posted a picture on social media before anyone even took a bite, and suddenly I was the designated pie person for every gathering.
Working With Temperature
Cold dough is your best friend throughout this process. Keep a bowl of ice water nearby and chill your cutting board if your kitchen runs warm. Those butter bits need to stay solid until they hit the oven heat.
Getting Even Strips
I finally invested in a pizza cutter specifically for pastry work and it changed everything. The rolling motion cuts through dough without dragging or stretching, giving you perfectly uniform strips that braid evenly.
Making Ahead And Storage
You can cut and braid strips up to two days ahead, storing them flat between parchment paper in the refrigerator. Let them soften slightly at room temperature for ten minutes before positioning on your pie.
- Freeze unbraided strips for up to a month, thaw in refrigerator overnight
- Braids can be frozen fully formed on a baking sheet then transferred to a bag
- Always wrap dough tightly to prevent refrigerator odors from absorbing
 Save
Save Every time I pull a braided pie from the oven, I still feel that little spark of pride. Something so simple transforms an ordinary Tuesday dinner into a celebration.
Recipe FAQs
- → What makes fishtail braiding different from regular braiding?
-
Fishtail braiding creates a flatter, wider weave compared to traditional three-strand braiding. Instead of crossing outer strips over the middle continuously, you pull from the outermost edges and cross toward the center, producing a distinctive herringbone-like pattern that showcases the dough layers beautifully while maintaining better adherence to the pie edge.
- → Can I make the dough ahead of time?
-
Absolutely. The dough can be prepared up to 3 days in advance and stored wrapped tightly in the refrigerator. For longer storage, freeze the dough disks for up to 3 months. Thaw overnight in the refrigerator before rolling and braiding. The dough actually benefits from resting, allowing the gluten to relax for easier handling.
- → Why does my dough become difficult to braid?
-
Warm dough is the most common challenge. Butter begins melting around 68°F (20°C), causing strips to stretch, tear, or lose their shape. Work in a cool kitchen, chill dough frequently, and handle strips quickly. If dough becomes too soft, return it to the refrigerator for 10-15 minutes before continuing. Room temperature should ideally be below 70°F.
- → What fillings work best with braided crusts?
-
Almost any filling pairs wonderfully with this decorative edge. Fruit pies like apple, cherry, and berry allow the braid to shine without competition. Savory options such as quiche Lorraine, chicken pot pie, or spinach feta create stunning contrasts. Avoid overly liquid fillings that might boil over and obscure the braid during baking.
- → Do I need to pre-bake the braided crust?
-
Pre-baking (blind baking) depends on your filling. For custard-based pies like quiche or pumpkin, pre-baking ensures the bottom crust cooks fully. For fruit pies with longer baking times, add the braid before the final bake. If pre-baking, chill the assembled braided crust for 15 minutes to maintain the braid shape, then bake at 375°F until golden.
- → How can I add color to my braid?
-
Incorporate natural vegetable dyes by mixing pureed cooked beets, spinach, or carrot juice into portions of the dough. Roll these separately into thin strips and weave them with plain dough strips for striking visual effects. Another option is brushing with colored egg washes mixed with spices like turmeric or paprika for golden hues.