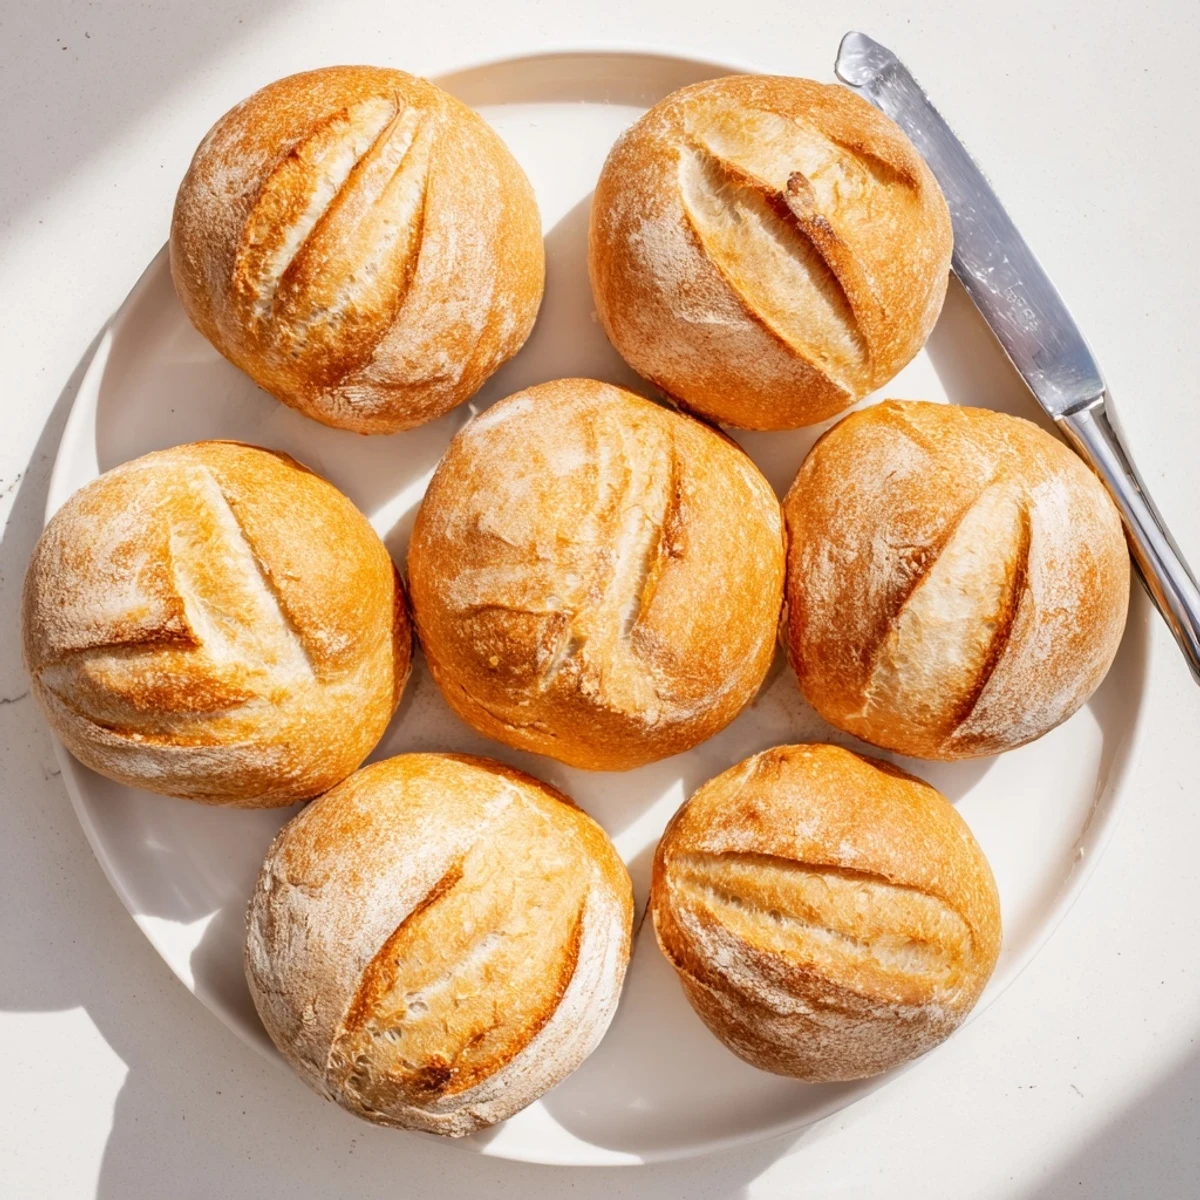
 Save
Save Master the art of authentic French bread rolls with this straightforward technique. These golden beauties feature a beautifully crisp exterior that gives way to a soft, airy interior. The steam method ensures that professional bakery quality crust right in your home kitchen.
Allow two hours total time, including rising periods. The dough comes together quickly with just five basic ingredients you likely have on hand. Kneading develops the necessary gluten structure for that perfect texture.
The secret lies in the steam during baking—place a water tray on the bottom rack to create a humid environment. This simple step transforms ordinary dough into extraordinary crusty rolls.
My tiny apartment kitchen had only one window, and during winter it would steam up completely when I baked bread. Those fogged up panes became my signal that something wonderful was happening in the oven. There is something almost magical about turning flour, water, and time into something that makes the whole house smell like a bakery.
Last Christmas, I made three batches of these rolls because my family kept eating them before dinner even started. My brother actually stood by the cooling rack, picking off pieces while pretending to help set the table. Now I always double the recipe.
Ingredients
- Bread flour: The higher protein content creates that chewy interior and gives the rolls structure
- Lukewarm water: Test it on your wrist like baby bathwater, too hot kills the yeast
- Active dry yeast: Let it foam up first, this proves it is alive and working
- Salt: Do not add this directly to the yeast or it will inhibit the rising process
- Sugar: Just a teaspoon feeds the yeast and helps with browning
- Extra flour for dusting: Makes them look bakery beautiful and gives the crust extra texture
Instructions
- Wake up the yeast:
- Dissolve sugar in lukewarm water, sprinkle yeast on top, and wait until it becomes foamy and fragrant
- Build the dough:
- Mix flour and salt into the yeast mixture, then knead until the dough feels smooth and springs back when poked
- First rise:
- Place dough in a greased bowl, cover with a damp cloth, and let it double in size for about an hour
- Shape the rolls:
- Punch down gently, divide into 8 equal pieces, and form each into a tight ball by tucking the edges underneath
- Second rise:
- Arrange on parchment paper, cover loosely, and let them puff up again for 30 to 40 minutes
- Create steam:
- Preheat oven to 230°C and put a tray of water on the bottom rack while the oven heats up
- Score and bake:
- Dust tops with flour, make shallow slashes with a sharp knife, and bake until deeply golden and crusty
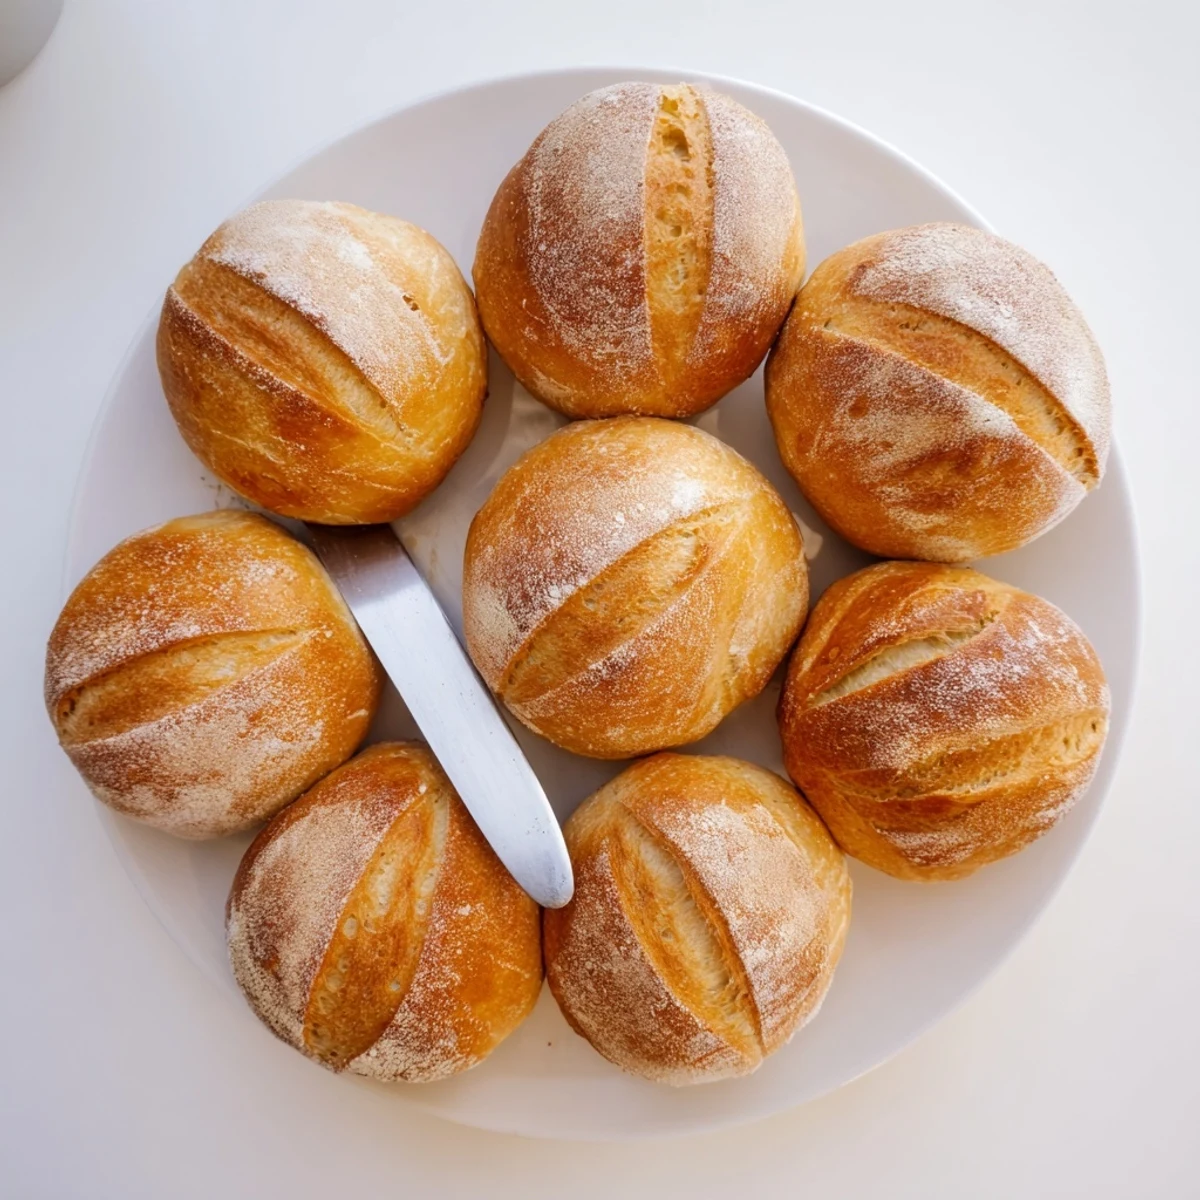 Save
Save My neighbor once knocked on my door because she smelled the bread baking. We ended up sharing the fresh rolls with butter and talking for two hours about her grandmother is recipes.
Getting The Best Rise
Finding a warm spot for dough can be tricky depending on the season. I have discovered that the oven with just the light on creates a perfectly warm, draft free environment. Some days I even put the bowl near a sunny window with a towel over it.
Shaping Like A Pro
The tucking method works better than rolling between your palms for tight bakery style rolls. Pull the edges of each dough piece toward the center and pinch them together at the bottom. This creates surface tension that helps them hold their shape beautifully.
Making Them Your Own
Once you have the basic technique down, these rolls become a canvas for whatever you are craving. The variations that work best are simple additions that do not mess with the chemistry.
- Swap in a quarter cup of milk for some of the water for softer, richer rolls
- Press sesame or poppy seeds gently into the tops before baking
- Try rosemary and coarse salt for a savory dinner version
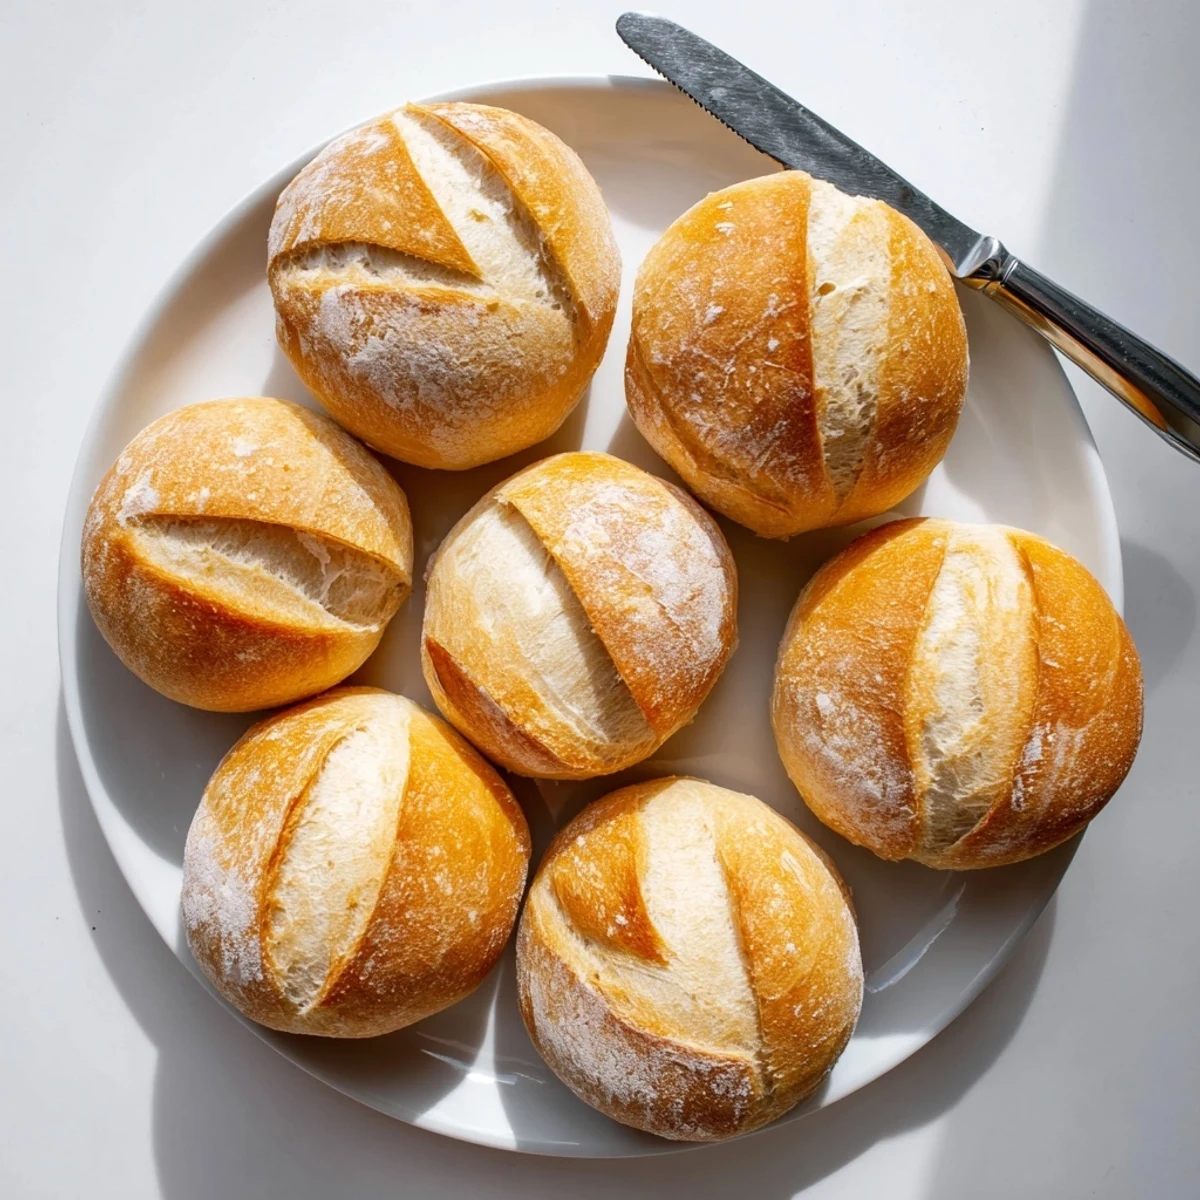 Save
Save There is nothing quite like tearing into a warm roll fresh from the oven. These might just become your new weekend tradition.
Recipe FAQs
- → Why add water in the oven while baking?
-
The water creates steam in the oven, which keeps the surface of the dough moist longer. This allows the rolls to expand fully before the crust sets, resulting in a lighter interior with a beautifully crisp, crackly exterior.
- → Can I make these rolls ahead of time?
-
Absolutely. You can prepare the dough and let it complete its first rise, then refrigerate overnight. Bring to room temperature the next day, shape, and proceed with the second rise. Baked rolls also freeze beautifully for up to three months.
- → How do I know when the dough has risen enough?
-
The dough should double in size during the first rise. You can test by gently pressing two fingers into the dough—if the indentation remains, it's ready. For the second rise after shaping, look for the rolls to have puffed noticeably and appear slightly airy.
- → What's the purpose of slashing the tops before baking?
-
Slashing creates a controlled weak point in the dough's surface, allowing steam to escape and the roll to expand properly during baking. This prevents unsightly tearing and gives those classic artisanal bread patterns.
- → Can I use all-purpose flour instead of bread flour?
-
Yes, though the texture will be slightly different. Bread flour has higher protein content, creating more gluten for a chewier texture and better rise. All-purpose flour works but expect a softer, less crusty result.
- → Why is the first rise important?
-
During fermentation, yeast produces carbon dioxide gas and alcohol. This process develops flavor and creates those airy pockets inside. Skipping or shortening the rise results in dense, less flavorful rolls.