Save
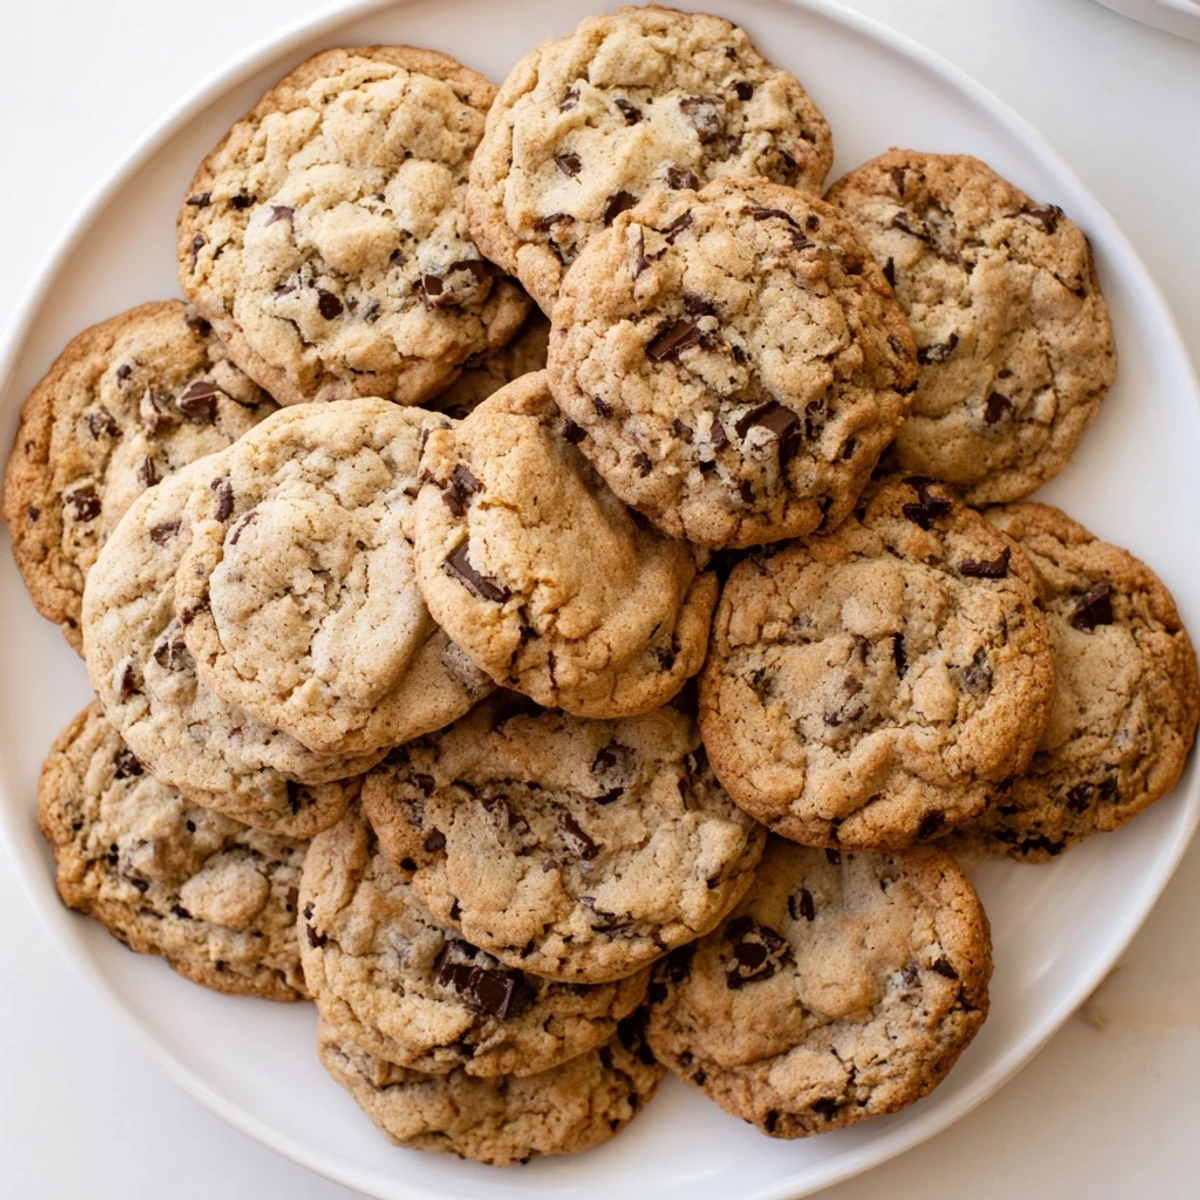
Save These beloved cookies feature irresistibly soft centers with slightly crisp edges, packed with semisweet chocolate chunks throughout. The secret lies in melted butter creating that signature chewiness while brown sugar adds deep caramel notes. Quick to prepare and even quicker to disappear, they bake to golden perfection in just 12 minutes.
The scent of browned butter and brown sugar curling through a kitchen is enough to make anyone drop whatever they are doing and wander toward the oven. My sister used to call it the cookie tractor beam because no one in our house could resist it. These chocolate chip cookies came from a rainy Saturday experiment that went so right I never bothered looking for another recipe. Thick, soft, and loaded with chocolate, they are everything a cookie should be.
I once brought a tin of these to a neighbor who had just moved in, and she stood in the driveway eating three before she even made it back inside her front door.
Ingredients
- 2 1/4 cups (280 g) all-purpose flour: This is the backbone of the cookie and spooning it into the cup rather than packing it in keeps the cookies thick instead of flat.
- 1 tsp baking soda: Gives the cookies a gentle lift and helps those edges turn golden.
- 1/2 tsp salt: Do not skip this because salt makes the chocolate taste deeper and more complex.
- 1 cup (225 g) unsalted butter, melted and cooled: Melting the butter creates that chewy texture and cooling it prevents the eggs from scrambling when you mix them in.
- 1 cup (200 g) packed brown sugar: The molasses in brown sugar is the secret to soft centers and a rich caramel flavor.
- 1/2 cup (100 g) granulated sugar: Balances the brown sugar and helps the edges crisp up beautifully.
- 2 large eggs: Binding everything together and adding richness to the dough.
- 2 tsp pure vanilla extract: Use the real stuff if you can because it adds a warmth that imitation vanilla never quite captures.
- 2 cups (340 g) semisweet chocolate chips: Semisweet strikes the perfect balance between sweet and deeply chocolaty without overwhelming the buttery dough.
Instructions
- Get the oven ready:
- Preheat your oven to 350 degrees F (180 degrees C) and line two baking sheets with parchment paper so nothing sticks and cleanup is effortless.
- Whisk the dry team:
- In a medium bowl, whisk together the flour, baking soda, and salt until evenly distributed, then set it aside so it is ready when you need it.
- Build the buttery base:
- In a large bowl, whisk the melted and cooled butter with both sugars until the mixture looks smooth, glossy, and irresistibly creamy.
- Add the eggs and vanilla:
- Beat in the eggs one at a time, feeling the batter thicken with each addition, then stir in the vanilla until everything is fragrant and unified.
- Marry the wet and dry:
- Gradually fold in the flour mixture with a spatula, stopping the moment you no longer see dry streaks because overmixing makes tough cookies.
- Fold in the chocolate:
- Gently stir in the chocolate chips with a spatula, distributing them evenly so every cookie gets a generous share of chocolate.
- Scoop and shape:
- Use a cookie scoop or tablespoon to drop rounded mounds of dough about two inches apart on the prepared sheets, giving them room to spread into perfect circles.
- Bake to golden perfection:
- Bake for 10 to 12 minutes until the edges are set and golden but the centers still look slightly soft and puffy because they will set as they cool.
- Cool with patience:
- Let the cookies rest on the baking sheet for 5 minutes before transferring them to a wire rack, which helps them finish setting without overbaking.
 Save
Save The best batch I ever made was the one my daughter helped with at age four, her tiny hands pressing chocolate chips into the tops of each dough ball with intense concentration.
What to Know About Storing Them
These cookies stay beautifully soft in an airtight container at room temperature for up to five days, though in my experience they rarely last that long.
Swapping and Customizing
You can replace up to half the chocolate chips with chopped walnuts, pecans, or even white chocolate chunks for a completely different personality while keeping the same chewy base.
Tools That Make It Easier
A cookie scoop is the kind of small investment that pays off every single time you bake because it gives you uniform cookies that all bake at the same rate.
- Parchment paper is nonnegotiable for even baking and easy release.
- A wire rack prevents the bottoms from steaming and getting soggy.
- Always check chocolate chip labels if you are baking for someone with soy or dairy allergies.
 Save
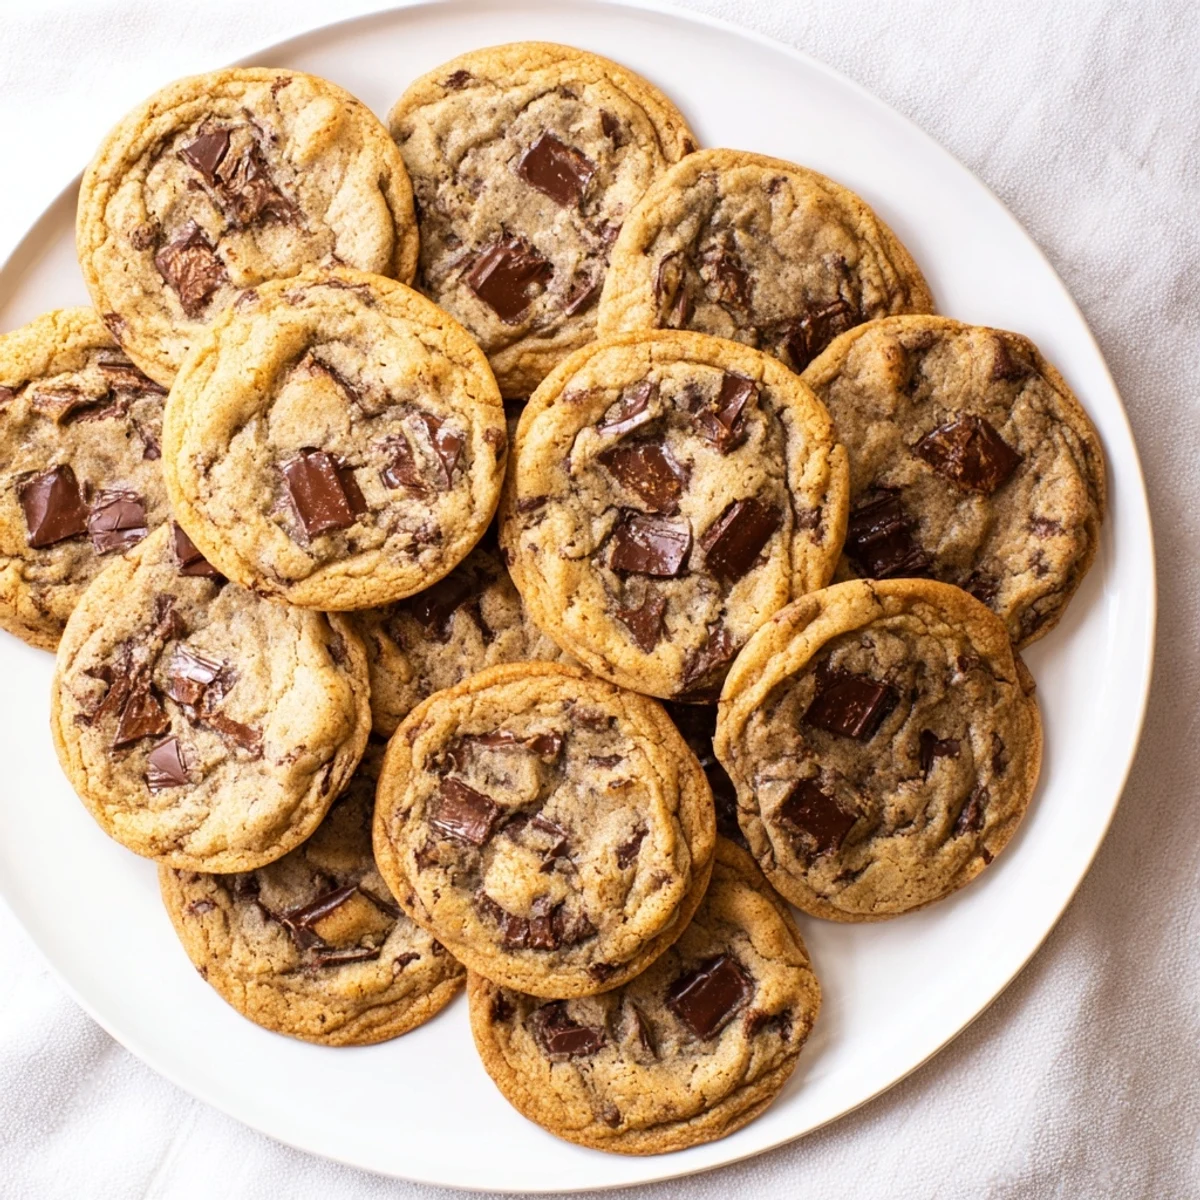
Save Every batch is a chance to make someone pause, close their eyes, and just enjoy a warm, chocolatey moment. That is the real magic of a good chocolate chip cookie.
Recipe FAQs
- → What makes cookies chewy versus crispy?
-
Melted butter creates chewiness by coating flour proteins, while higher brown sugar content retains moisture. The combination prevents spreading too thin, resulting in soft centers with slightly crisp edges.
- → Should I chill the dough before baking?
-
Chilling for 30 minutes enhances flavor development and prevents excessive spreading, though these work perfectly with room-temperature dough too. For thicker cookies, refrigeration helps.
- → Can I freeze the dough?
-
Scoop dough balls onto a baking sheet, freeze until solid, then transfer to a freezer bag. Bake from frozen, adding 1-2 minutes to baking time. Keeps for up to 3 months.
- → Why did my cookies spread too much?
-
Warm dough or insufficient flour causes excessive spreading. Ensure butter isn't hot when mixing, and measure flour accurately. If needed, chill dough briefly before baking.
- → How do I know when they're done?
-
Remove when edges are golden brown but centers appear slightly underbaked and soft. They continue cooking on the hot baking sheet, setting perfectly during the 5-minute cooling period.